

Caring for Your Glowforge Laser Cutter: A Guide for Makerspaces
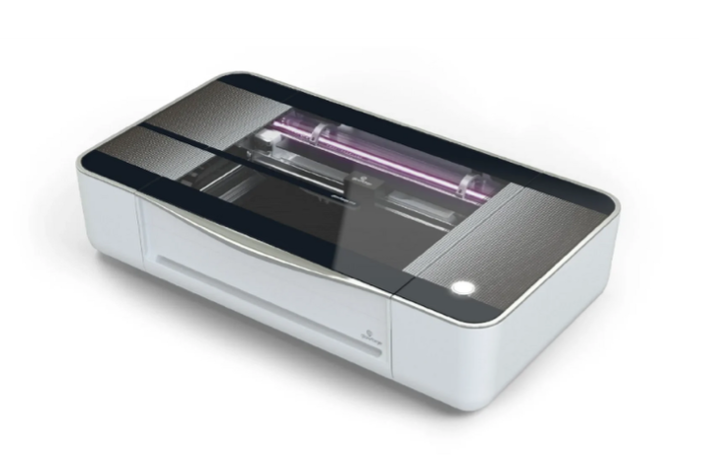
Glowforge Laser Cutter
The Glowforge laser cutter is one of the most exciting and versatile tools in any makerspace. Whether you’re engraving custom signs, crafting intricate designs, or prototyping new ideas, keeping your Glowforge in top condition is essential for reliable performance, safety, and consistent results. Regular maintenance and cleaning not only improve the quality of your cuts and engravings but also extends the life of the machine and prevents unnecessary downtime.
Before you begin any maintenance, it’s important to power off and unplug your Glowforge to ensure safety. Always let the machine cool completely before touching any components. For cleaning, gather a few soft, lint-free cloths, microfiber towels, ZEISS lens wipes, and isopropyl alcohol (applied to a cloth, never sprayed directly). A small vacuum or compressed air can also be useful for removing debris. Having a well-lit workspace and a clear, flat surface to place parts while cleaning will make the process smoother.
One of the most frequent maintenance tasks is cleaning the crumb tray and bed floor. After each use, or whenever you notice debris buildup, open the front door, slide out the tray carefully, and empty any leftover material scraps into a trash bin. Avoid tilting the tray upward to prevent bumping the laser head or rails. Use a cotton swab or soft brush to remove stuck pieces, then wipe the bed floor clean. Before reinserting, check that the four dimples where the tray sits are clear of debris, ensuring the tray rests evenly. A clean tray and level bed keep your materials flat, and your laser focus accurate, which helps prevent miscuts and potential fire hazards.
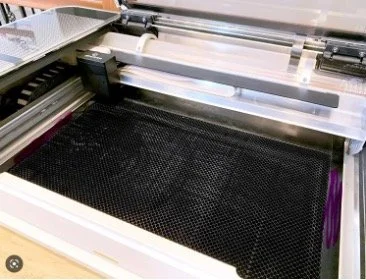
Glowforge Laser Cutter Crumb Tray
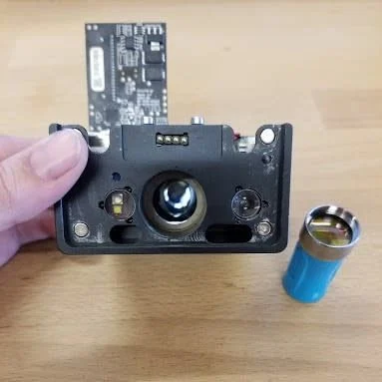
The optics and cameras also need regular attention, typically every 40 hours of printing or sooner, if you notice dust or reduced performance. To clean them, remove the printer head by gently lifting it off the carriage. Use a ZEISS lens wipe to carefully clean the small windows on either side of the lens and then remove the lens using the Glowforge lens tool. Gently clean both sides of the lens and handle it by its metal ring to avoid fingerprints. When replacing it, ensure the curved side faces correctly, as indicated in the Glowforge guide. Wipe down the side windows, the laser window near the left rail, and the overhead lid camera lens as well. Clean optics ensure optimal laser power, precise engraving, and clear lid-camera alignment during setup.

Glowforge Laser Cutter Optics
About every 120 hours of use, it’s also important to clean the printer-head mirror. With the machine powered off, move the head to the center and remove the top cover held by magnets. Lift the mirror by its blue handle and use a clean lens wipe to gently remove any dust or smudges. If you notice a persistent mark or damage on the mirror surface, it may need replacement. Once clean, reinstall the mirror at a 45° angle so that the handle lies flat and parallel with the print head. A clean, properly seated mirror keeps the laser beam sharp and powerful, which means smoother, more consistent cuts.
Clean the mirror and two small lenses on either side of the with a clean cloth.

Clean the outside mirror with a clean cloth.
For deeper maintenance, you can occasionally tidy up the interior electronics and laser tube area. Use compressed air to blow dust off the circuit boards—without disconnecting any wires—and a soft cloth with isopropyl alcohol to wipe down the laser tube housing. Be gentle and never spray liquids directly inside the machine. Finally, inspect and clean the exhaust system regularly. Detach the exhaust hose from the back of the Glowforge, vacuum out any debris from the port and hose, and make sure the external vent is clear. Poor airflow can cause excess smoke during printing, affect cut quality, and increase the risk of overheating.

To keep your Glowforge running its best in a shared makerspace, consider establishing a regular cleaning schedule. Create a weekly or biweekly maintenance routine so the machine stays ready for everyone to use. Keep a dedicated cleaning kit nearby that includes microfiber cloths, lens wipes, compressed air, and a vacuum, and post a simple checklist next to the machine reminding users to inspect the crumb tray, lens, and exhaust hose before and after use. Tracking usage hours is also a great idea since Glowforge recommends cleaning intervals based on print time.
Lastly, always prioritize safety when maintaining your Glowforge. Power the machine off before cleaning, never spray liquids directly into it, and only use lens wipes approved for optics. Avoid touching the mirrors or lenses with your fingers, and ensure your workspace remains well-ventilated during and after use.
Caring for your Glowforge isn’t just about upkeep—it’s about ensuring every maker has access to a clean, high-performing tool that produces beautiful, precise results. A few minutes of regular cleaning can prevent big problems down the line, helping your Glowforge stay reliable and safe for every creative project that passes through your makerspace.
For more detailed cleaning guides, visit the official Glowforge support pages: